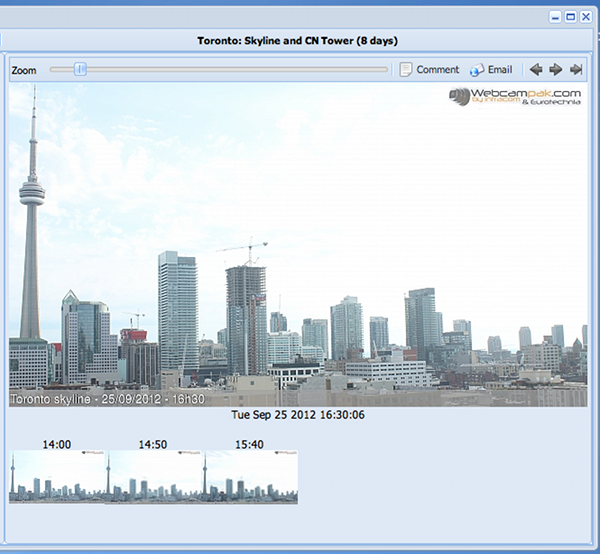
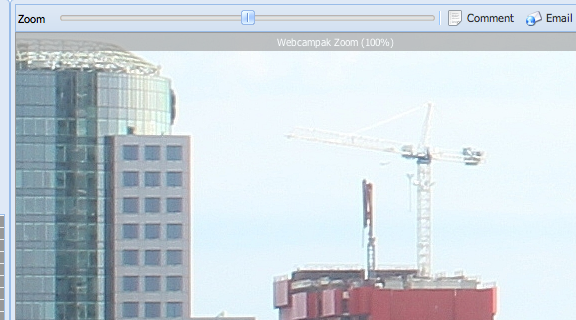
The picture area is composed by a toolbar located between the name of the source and the displayed picture.
In some situations, you might see an "optimize" button close to the zoom toolbar, in can be used to enable/disable picture optimization module.
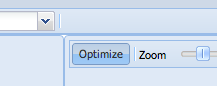
When activated: pictures are resized on-the-fly to match the user window, therefore bandwidth is optimized and less data is transmitted over the network (can result in faster loading time).
When disabled: full size pictures are transmitted over the network.
As Webcampak Cloud is hosted on very powerful servers, this button is not necessary in this situation.
When using Webcampak, the internal embedded server is less powerful, therefore there are two situations:
If you are connected to Webcampak over a high speed network (for example, during initial configuration), pictures will be displayed faster if you disable optimization.
If there is a slow network connection (3G, ADSL, ...) between you and Webcampak, if might be more efficient (and faster) if you enable optimization.
This choice can be modified at any time.
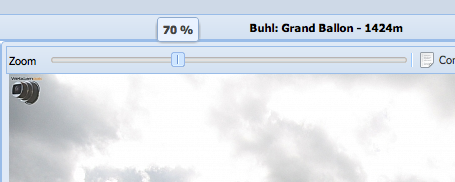
Webcampak is equipped with a bandwidth optimization feature. Any pictures displayed via the web interface is pre-processed to be sent in a definition corresponding to the user's browser. Consequently you will notice that the zoom cursor will move by itself if you resize the picture window.
For this reason you will not be able to zoom-out in a definition lower than your window size (which is useless anyway) and zoom cursor cannot reach "0%" value or any value lower than the current zoom level calculated upon window size.
To zoom inside a picture, simply select a zoom level and move your mouse over the picture. Each time you change the zoom level or resize the window, an updated version of the picture will be loaded.
To disable zooming, simply move the cursor to the far left of the window (going to 0%).
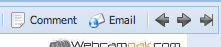
By clicking on "Comment" button on the toolbar you will be able to attach a comment to your picture.
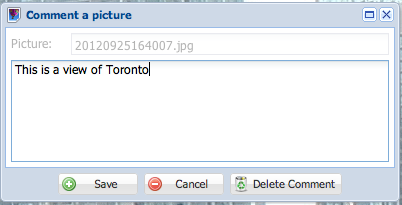
Save your comment by clicking on "Save".
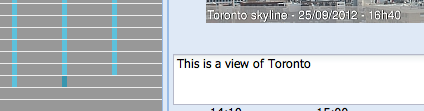
It will then be displayed below your picture and visible by any user allowed to view content of this source.
Any image with an attached comment are displayed with a dark-blue box in the hour grid on the left.
To delete a comment, just click again on "Comment" and click on "Delete Comment".
Users can also send pictures by email right from the web interface by clicking on "Email".
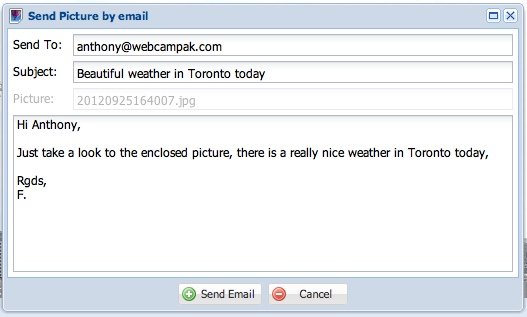
You can send this picture to the email of your choice (only one email at a time), or maybe to yourself if you want to take a closer look later.
Click on "Send Email" to send the picture, a popup will be displayed to let you know once the process is completed.
You can also notice three arrow buttons on the toolbar, you can use them to browse with archives (previous, next, last picture).