Table of Contents
This interface has been created to browse within all pictures and videos stored on your Webcampak.
Its user management system will let you define which user can access which source. Access rights are managed by source and by user.
Currently available in English, French and Spanish, let us know if you would like to see additional languages.
Take in consideration that this interface will not let you modify Webcampak configuration, this has to be done via Webcampak admin panel.
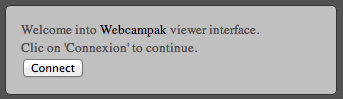
For your first connection the system will request authentication.
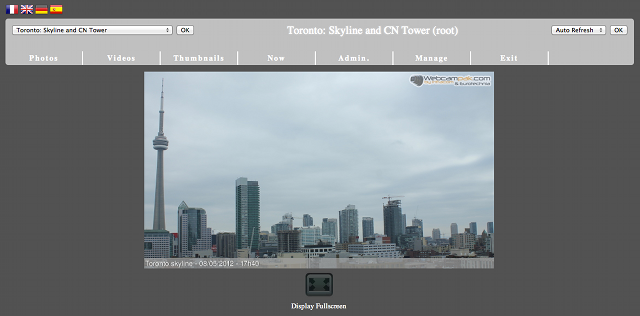
As you can see the interface is divided in multiple sections.

On the top left corner, flags let you choose the admin panel language.
On the left, a scroll list let you choose the source to display.
The name of the current source is displayed in the center, followed by the connect username.
The scroll list on the right let you choose the picture resolution when displaying the last picture. By default the smallest one is selected.
Once authenticated you will be automatically redirected to "Now" page displaying the last picture available for the selected source.
At the bottom of the page "Display Fullscreen" will open a dedicated page containing only the picture and refreshed every five minutes.
If you click on "Thumbnails" you will view on one page, all sources the authenticated user (demo on this capture) is allowed to see.
At the bottom of the page, "Start slideshow" will rotate between last captured pictures in a dedicated page, the slideshow is refreshed every 5 minutes.

"Photos" section will let you browse within archived pictures
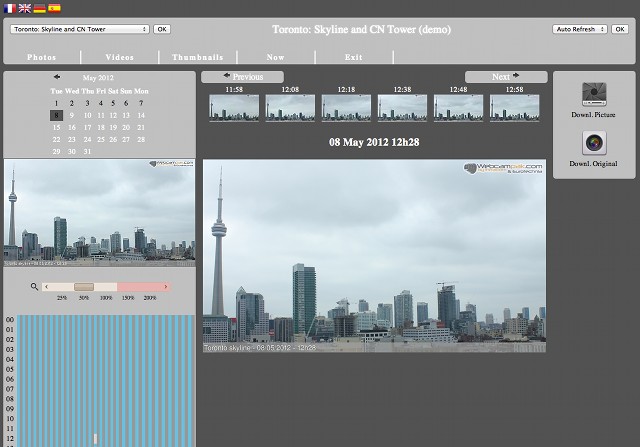
On the top left of the page, a calendar allows you to navigate in various months and days.
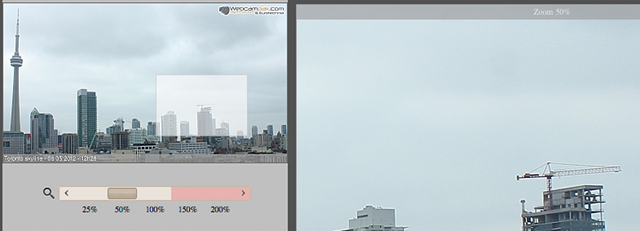
Just below the calendar, the thumbnail is equipped with zoom functionalities. If you move your mouse over, it will displayed a large portion of the picture on the right part of the page.
A zoom scrollbar will let you choose the level of zoom to be displayed on the right. If you choose over 100%, loading can be long, especially if the picture is very large (18 or 21 mpix).

Pictures are displayed by hour and minute, each "blue" bar represent a picture, a white bar show the picture currently being displayed.
If capture rate is faster than one per minute you will need to use "Previous" and "Next" buttons on the center of the page to move more precisely between pictures.
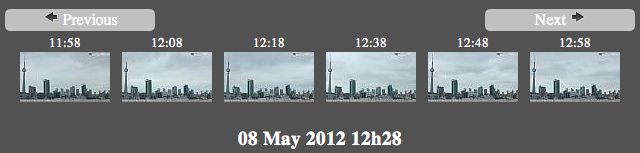
"Previous" and "Next" buttons let you move between pictures one by one.
Thumbnails on the top display pictures before and after the one currently being displayed (15, 10, 5 pictures before/after).
On the right of the page, two buttons let you download the current picture either in fullsize or in current size (right click, save link as...).
"Videos" let you browse between saved videos, using a calendar.
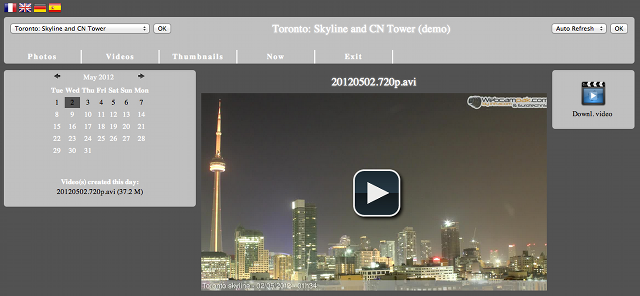
If "MP4" format has been selected in the administration panel, videos can be displayed directly in your web browser. In all cases, a "Downl. video" button will let you download the selected video (right click, save link as...).
The viewer panel has its own user management system to define access permissions.
When you add a user you can attach him to a group.
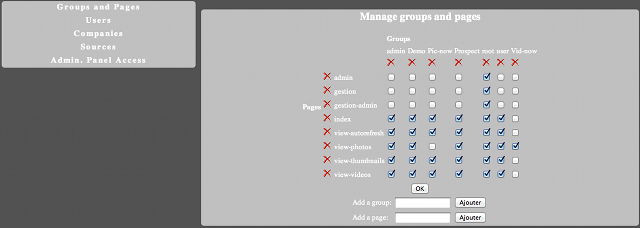
"Groups and Pages" let you define groups and select sections to be available for users of this group on the viewer panel.
If the page is not selected it will not be visible to users of this group.
The viewer panel also let you configure companies. This is purely administrative and does not have any impact on the viewer panel.
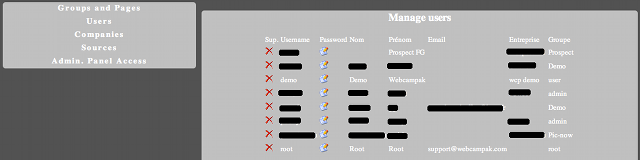
When adding a user you can mention his firstname, lastname, email address, company and assign him to a group in order to define sections he will see on the viewer panel.
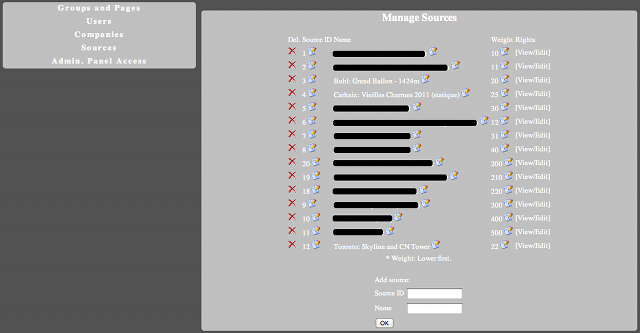
"Sources" is one of the key section of the viewer panel, it let you add sources and define permissions (by clicking on "View/Edit").
To add a source, mention its ID (defined in the administration panel, for example source10 has ID 10). Weight define in which order should source be displayed. Source with lowest weight becomes the default source.
By clicking on View/Edit you can define users allowed to access content of a source (source by source and user by user). By default a source do not have any user (not even root), you need to assign users to the source manually.

Finally, "Admin. Panel Access" let you declare users allowed to manage Webcampak via its administration panel.