In this small example we are going to show you how to create a mask with Gimp. This mask will be a PNG picture with an Alpha channel (transparency).
Those manipulations are detailed with The Gimp but can be adapted to most picture manipulation software.
Before beginning this example, just ensure your Webcampak is installed in its final location (if something moves you might have to re-create the mask).
In this example we are going to create a mask to hide some portions of the picture to keep only a few building sites. This is especially useful if you want to filter shots during a video creation.
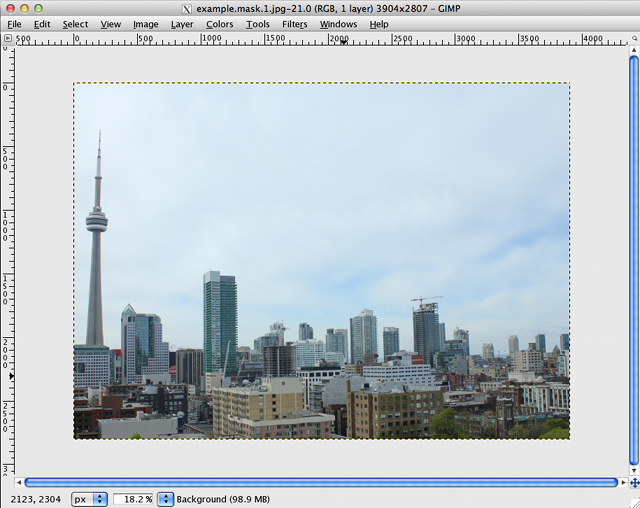
Log into your Webcampak and download a full size picture (i.e.via FTP or using "Downl. Original" in the viewer interface).
Open this picture with The Gimp.

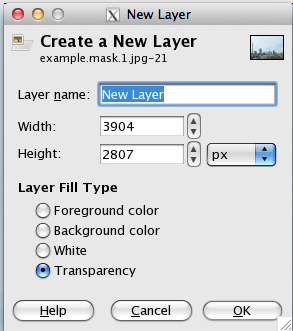
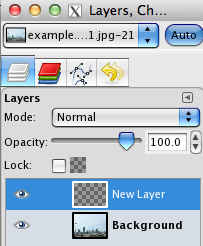
Ensure you select "Transparency" here.
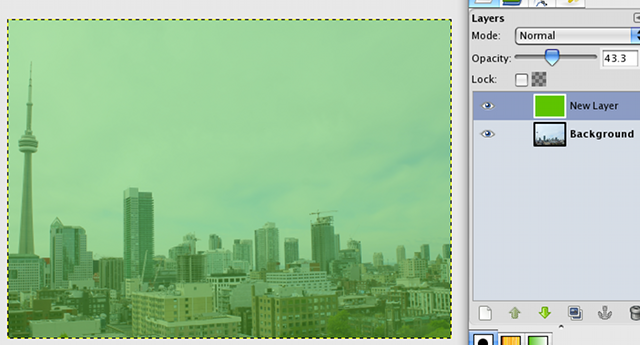
Add a color background on this new layer, once done ensure you can't see the picture behind the layer.
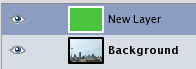
Change "Opacity" of the layer to see the background picture.
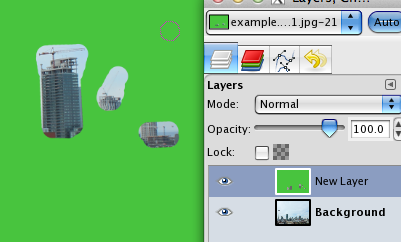
Using delete tool, erase areas of the new layer containing elements you want to monitor

Configure "Opacity" back to 100, you should now only see areas you want to monitor.
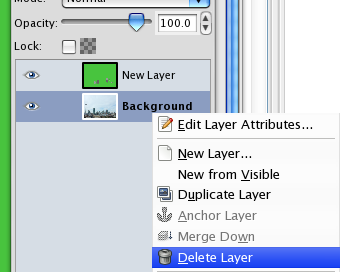
Then we will delete the source layer, do a right click on "Background" and select "Delete Layer".
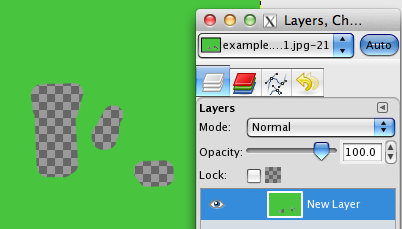
You mask is ready to be saved, in PNG and keeping Alpha channel.
Transfer the mask, via FTP, to /watermark/ directory
using global FTP account (wpresources).